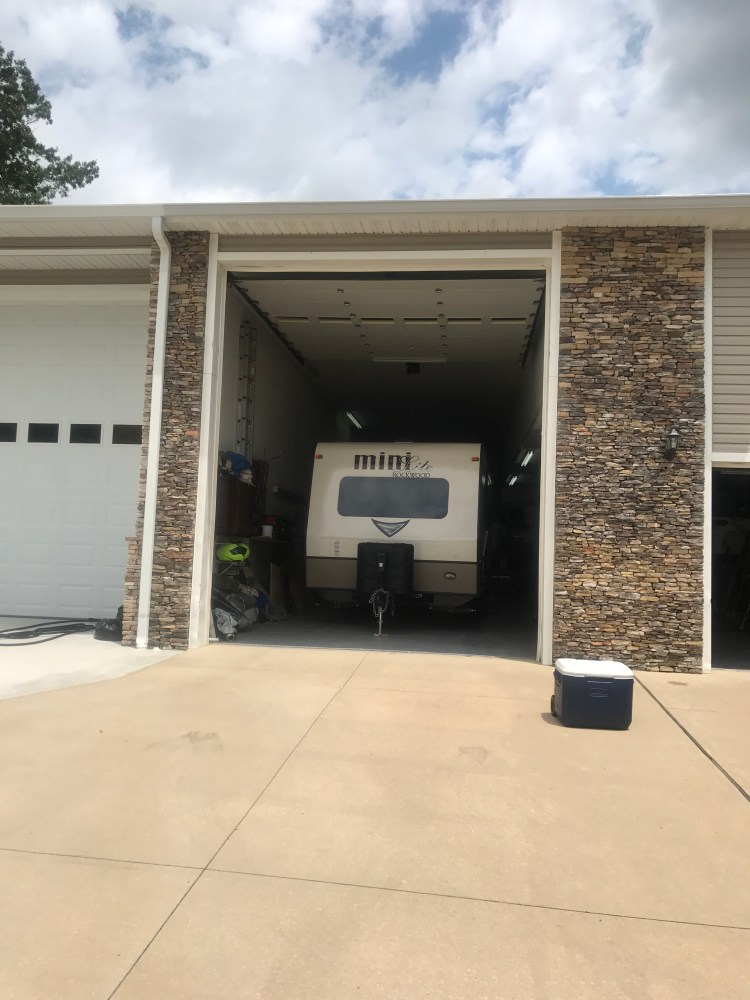
While July 4th may mean fireworks and barbecue for some, we have been looking forward to three long days at the best garage I know of – my parents’ house. My dad has been working on vehicles for more than half a century and my mom has the decor skills to match. Three days in the Faber Garage is enough to make any trailer completely custom.
On the agenda for the weekend:
- Install the tile backsplash.
- Create the kitchen valance.
- Build a kayak rack for the truck.
- Install roof vent cover
- Reinforce the fresh water tank.
- Destuff the sofa.
- Hang the pictures.
- Sew curtains.
- Install paper towel holder.
- Install reading lights.
- Hang shower caddy.
- Install sway bar.
- Install leveler on tongue.
- Second battery.
- Pick up generators.
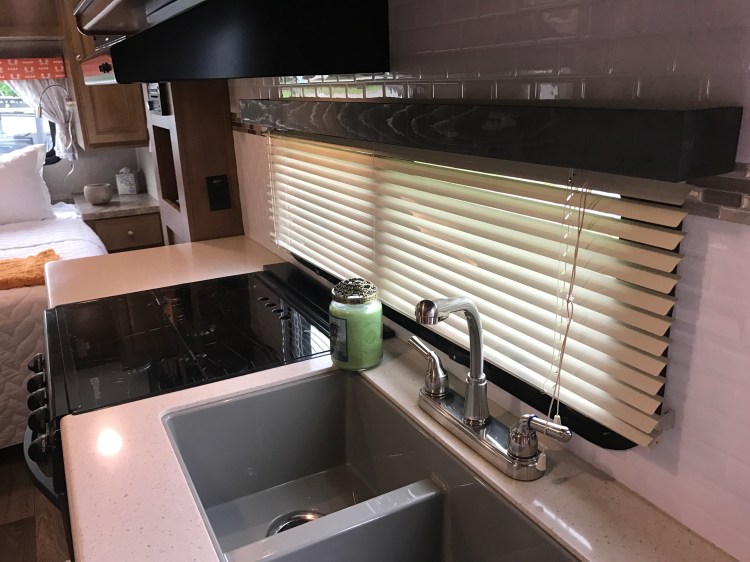
Install the backsplash
I have loved the look of peel-and-stick tile in RV’s to give a more finished appearance and distinguish the kitchen space. I had a hard time deciding on a pattern until I came across an idea of using an accent tile with the white subway tile. I have been using more and more white to decorate in the trailer. I feel this brings in more light. I prefer bright whites to the monotone assortment of beiges of the walls, cabinets, floors, etc. So I love the white subway tile and the pinks and creams in the Muretto Durango complements the wood tones. Although Smart Tiles and other similar tile brands can be found online, we found our tiles at Home Depot. It is definitely nice to be able to see the colors in person. All of the tiles appear unnaturally shiny in person. It takes a leap of faith to imagine they will ever look realistic once installed.
The installation was trickier than I had imagined, only because every sheet had to be custom cut to accommodate the window, the hood, or the accent piece. We cut the accent tile into four strips of four rows. For the space in our 2109s, we would only have needed one square, but we found it was easier to not have adjacent tiles of the same color by using two squares. We had a couple wasted squares of the subway tile when we kid-measured or were unable to line up a template correctly. I think we used about 15 of the white subway squares, but we might have been able to use fewer if we had planned better.
The installation took about five hours start to finish, but some of that was getting our method down. But I couldn’t be happier with the results and have plans to do the bathroom soon.


Install kitchen valance
I always felt the lack of valance in the kitchen area, made the area feel unfinished. The original plan was to attach Velcro to the wood valance that we built, but we loved the accent line on the tile so much and worried that a print would distract from that. Instead we did a rustic gray stain on the wood. I love the result!
Build a kayak rack for the truck
I mentioned in an earlier post our need for a better solution for carrying our kayaks. Laying them in the back of the truck just wouldn’t work for long trips with the trailer and there is no way we could continue to wrestle them in and out of the trailer. Most of the commercially available kayak racks wouldn’t work with our truck due to the Ram boxes. Fortunately, my dad designed a custom aluminum rack that bolts into the tie-down loops in the bed of the truck. We purchased the J-cradles for the kayaks themselves. We haven’t tried the rack with the kayaks – can’t wait to see how it works. It sure looks great!


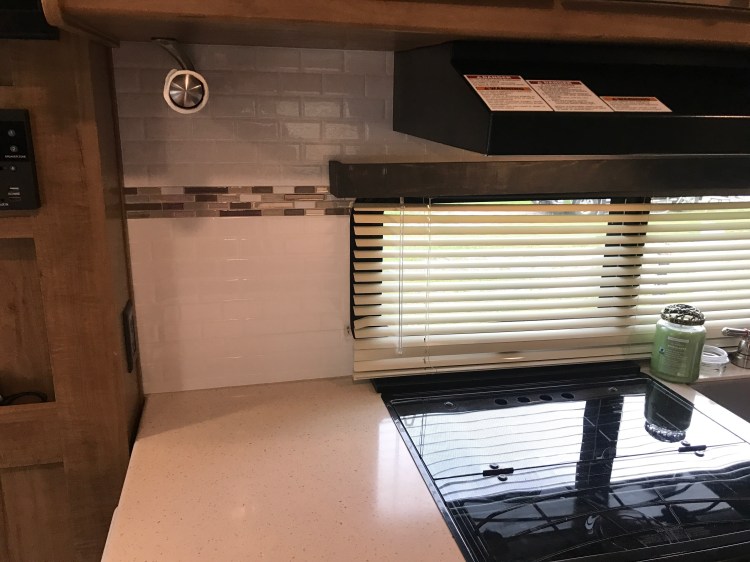
Install roof vent cover
If there is one thing I can count on while camping, it is forgetfulness. If there are two things, they are forgetfulness and rain. It’s not a great combination when it comes to the air vents. Fortunately the bathroom vent in the Rockwood Mini-Lite 2109s comes with a MaxxAir vent, but the vent over the bed had no cover. It would only be a matter of time before we left the vent open while heading out for a hike and a stray storm would soak our bed. However, I wanted to maximize air flow as the trailer doesn’t have huge windows. I felt like the MaxxAir II vent cover would provide protection in all of the most driving of rains. I’m so glad to have the security.

I am told it took custom shims to support two of the brackets, but I had nothing to do with that project. So I assume it was easy!
Reinforce fresh water tank
One of the downsides of joining online trailer communities is seeing the worst case scenarios. While I am sure they are rare, my worrisome side can’t help but imagine any number of catastrophes while rolling down the road. One point of anxiety has been the fresh water tank. At 40 gallons, the filled tank weighs in at well over 300 pounds. A few trailer owners have found sagging in the reinforcements after driving with full tanks. The underbelly on our trailer is enclosed, so there is no way to know if the frame seems to be straining. The simplest solution is reinforcement. Not going anywhere now, even if we have to travel with it full!

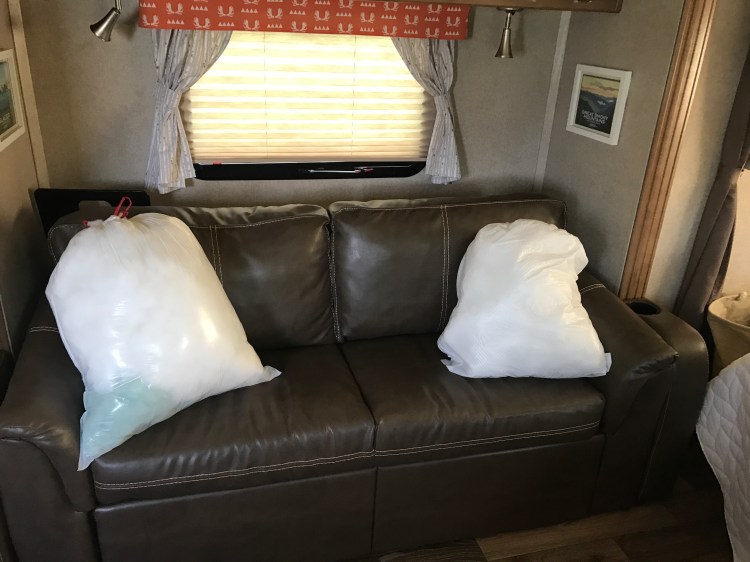
Destuff the sofa
Our sofa has hated us since we bought the trailer. It is hard to describe just how difficult it is to sit on. It may be a great core workout – it takes engaging multiple muscle groups to not fall off the couch – but it hasn’t been a great place to relax. Over time we have realized that the back of the sofa are way overstuffed. I think the visual of an overstuffed sofa is great, but those are high end luxury pieces that cost a significant fraction of the price of our trailer. When it comes to cheap polyfill, there is such a thing as too much.
Fortunately, our sofa back has zippers on the bottom. I removed the inserts, opened the seams, removed TWO GARBAGE BAGS of stuffing and replaced the inserts. I am sure the stuffing will mash down over time and we will need to add more, but for now, the couch is much more comfortable – and WAY better than sitting on the ground.
Hang the pictures
This was a simple task, but I love these pictures! They bring back such great memories of our favorite national parks.


Sew curtains
I am picky about my decor and the standard camper browns were never going to be my style. I think the theme we are going for is “modern cabin”. I found some gorgeous prints and created some curtains and valances. It is a bonus of this trailer that the valance fabrics are just Velcro’ed on. It was relatively simple to sew new ones. The pillow case was a bonus and I plan to make more accent pieces in the future. I love the new look!


Install paper towel holder
Another easy item. I’m scared of drilling holes. Supposedly, this one won’t unroll while going down the road.
Install reading lights
We needed something for reading in bed. I didn’t want to rewire everything so I found these on amazon. Unfortunately, they needed a bit of reinforcement in the back to make them stick, but we now have them installed with double sided tape. Perfect!

Hang shower caddy
I’ve been looking for a way to keep my soaps in the shower while going down the road. Our shower walls are textured so many of the normal solutions won’t work. I’ve heard good things about the Command shower series, so we are giving them a try. I’ll keep my fingers crossed!

Install sway bar and leveler on tongue
No pictures. But I think it is all self-explanatory. And we put the sway bar to the test on the long drive home – love it!
Install second battery/pick up generators
We need more power!


All-in-all, the weekend was exhausting. But I am so grateful to have resources to make my trailer a perfect home!

I am exhausted just reading about it all’. Looks beautiful!
LikeLike